Forms
Forms let visitors send you something — a question, a signup, a request — without you writing any code.
How forms work
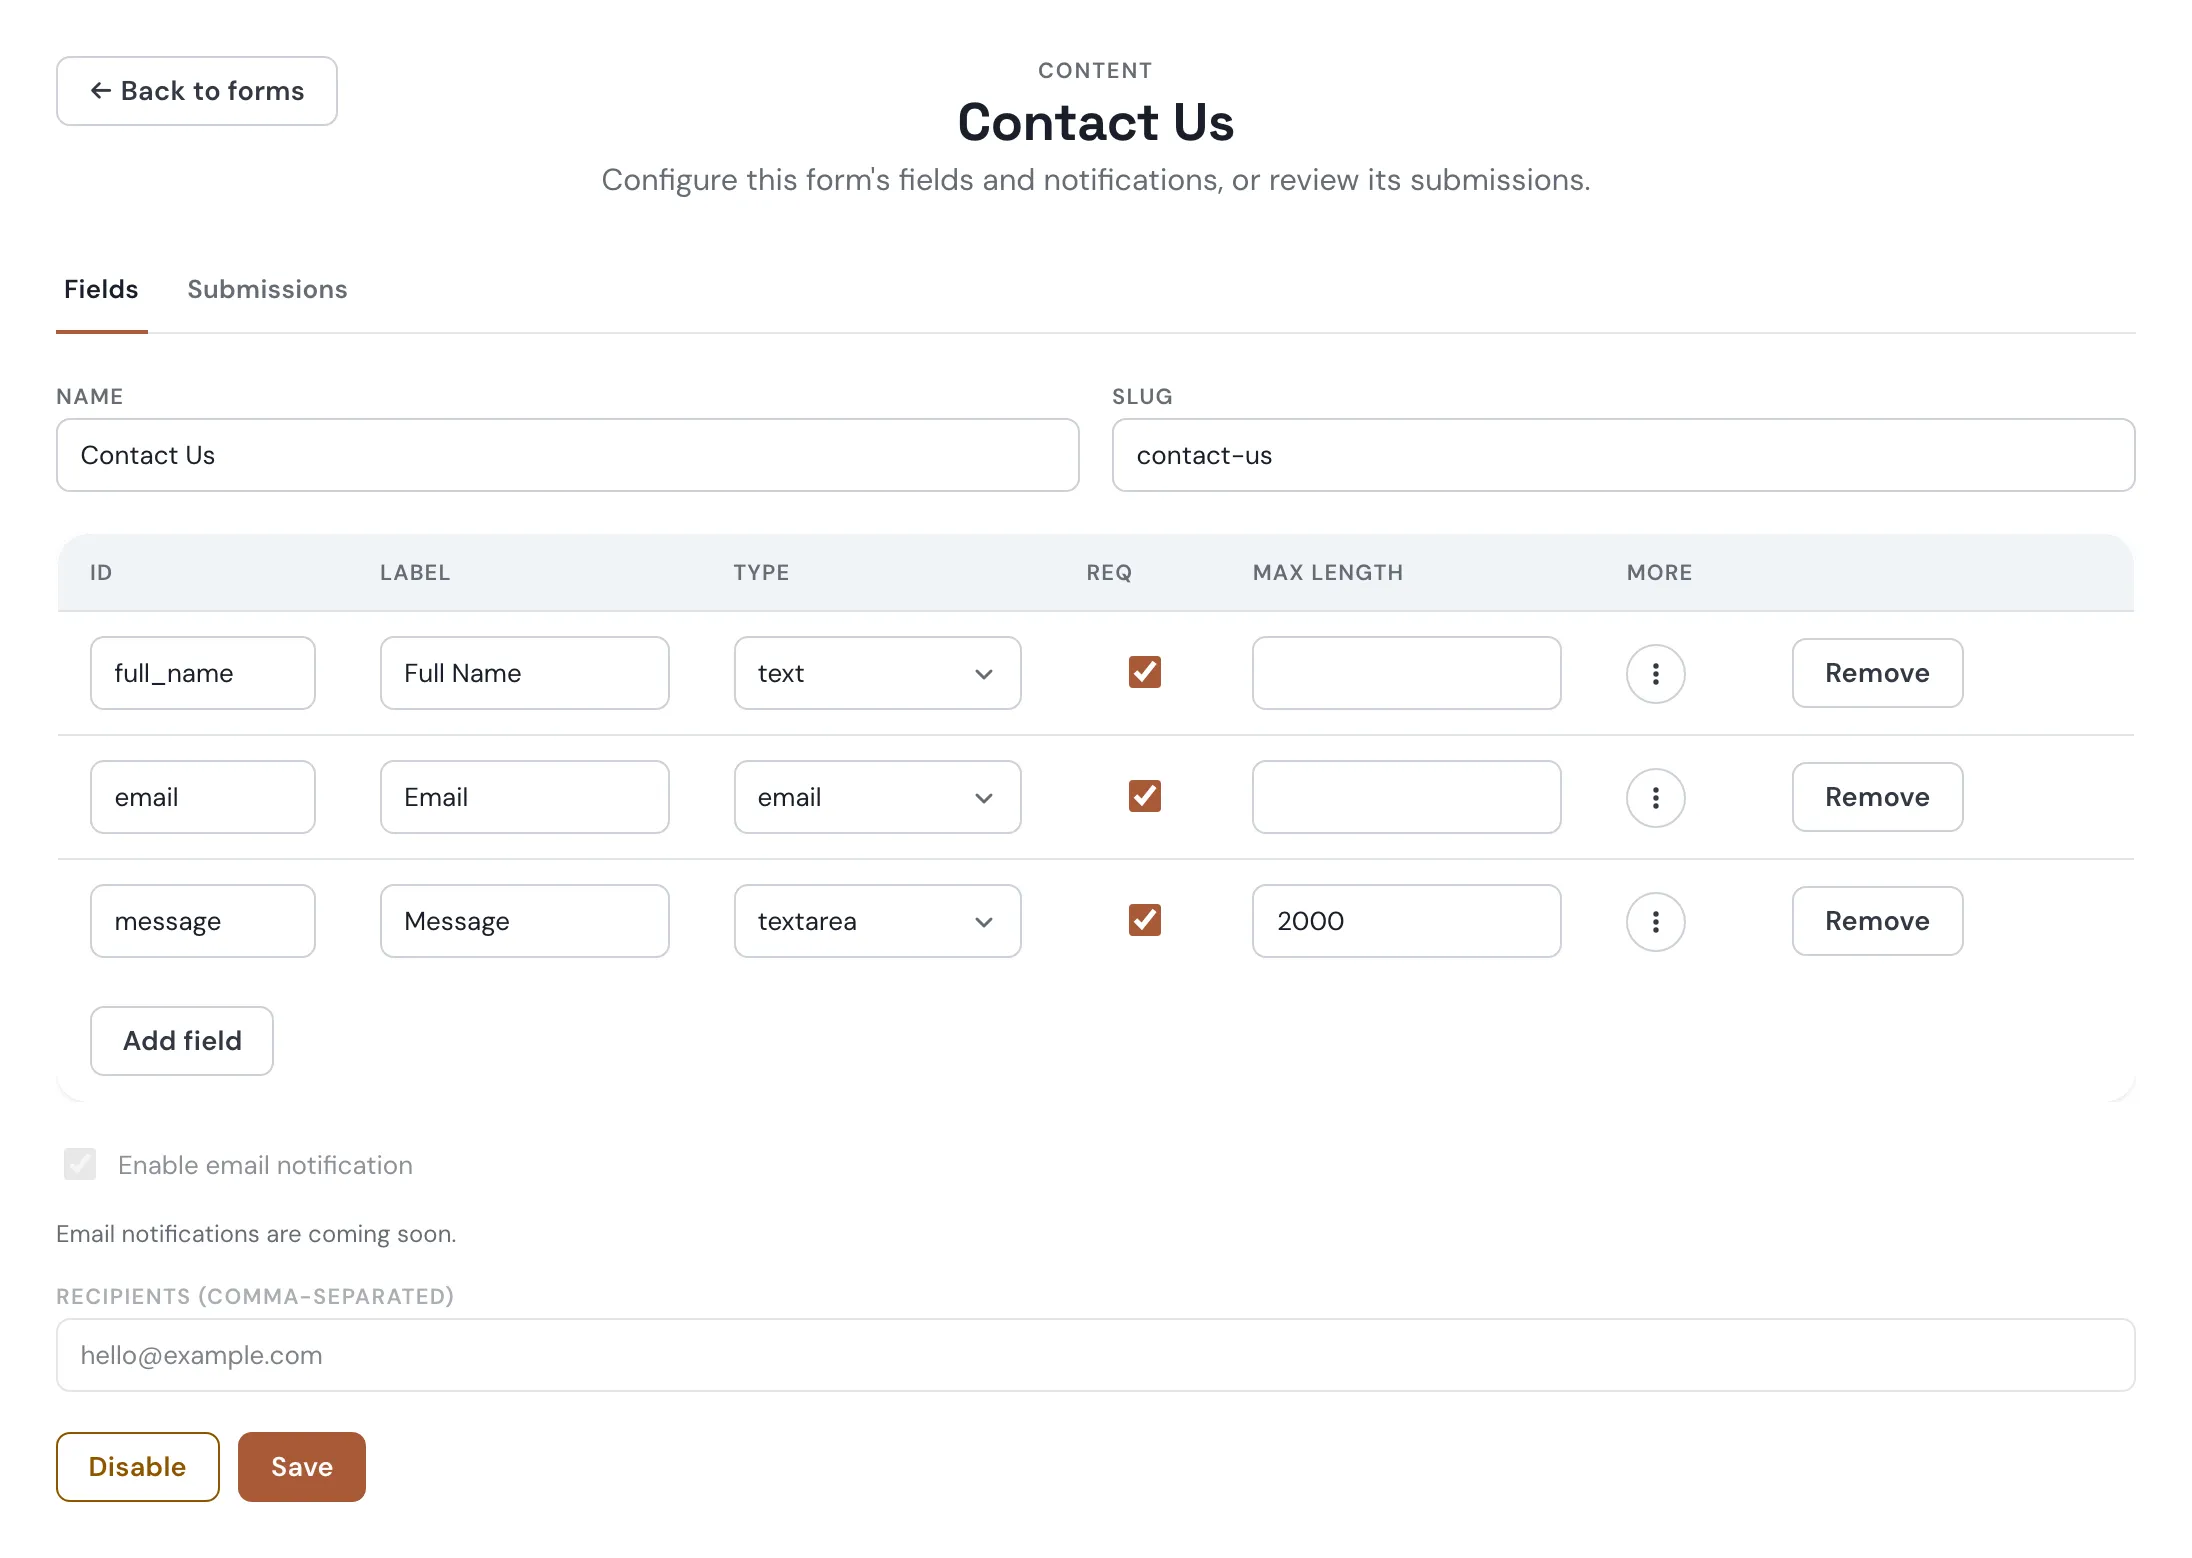
- Definition — under Content → Forms, you name a form, give it a slug, and add fields: text, email, multi-line text, or checkbox.
- Embed — drop the form widget onto any page or post. It renders live, with whatever fields you defined.
- Submit — a visitor fills it in and sends it. No JavaScript required — it still works with scripts off.
- Spam protection — a hidden field invisible to real visitors catches bots, and submissions are rate-limited by IP address.
Not yet: file uploads, multi-step forms, a drag-and-drop builder.
Creating a form
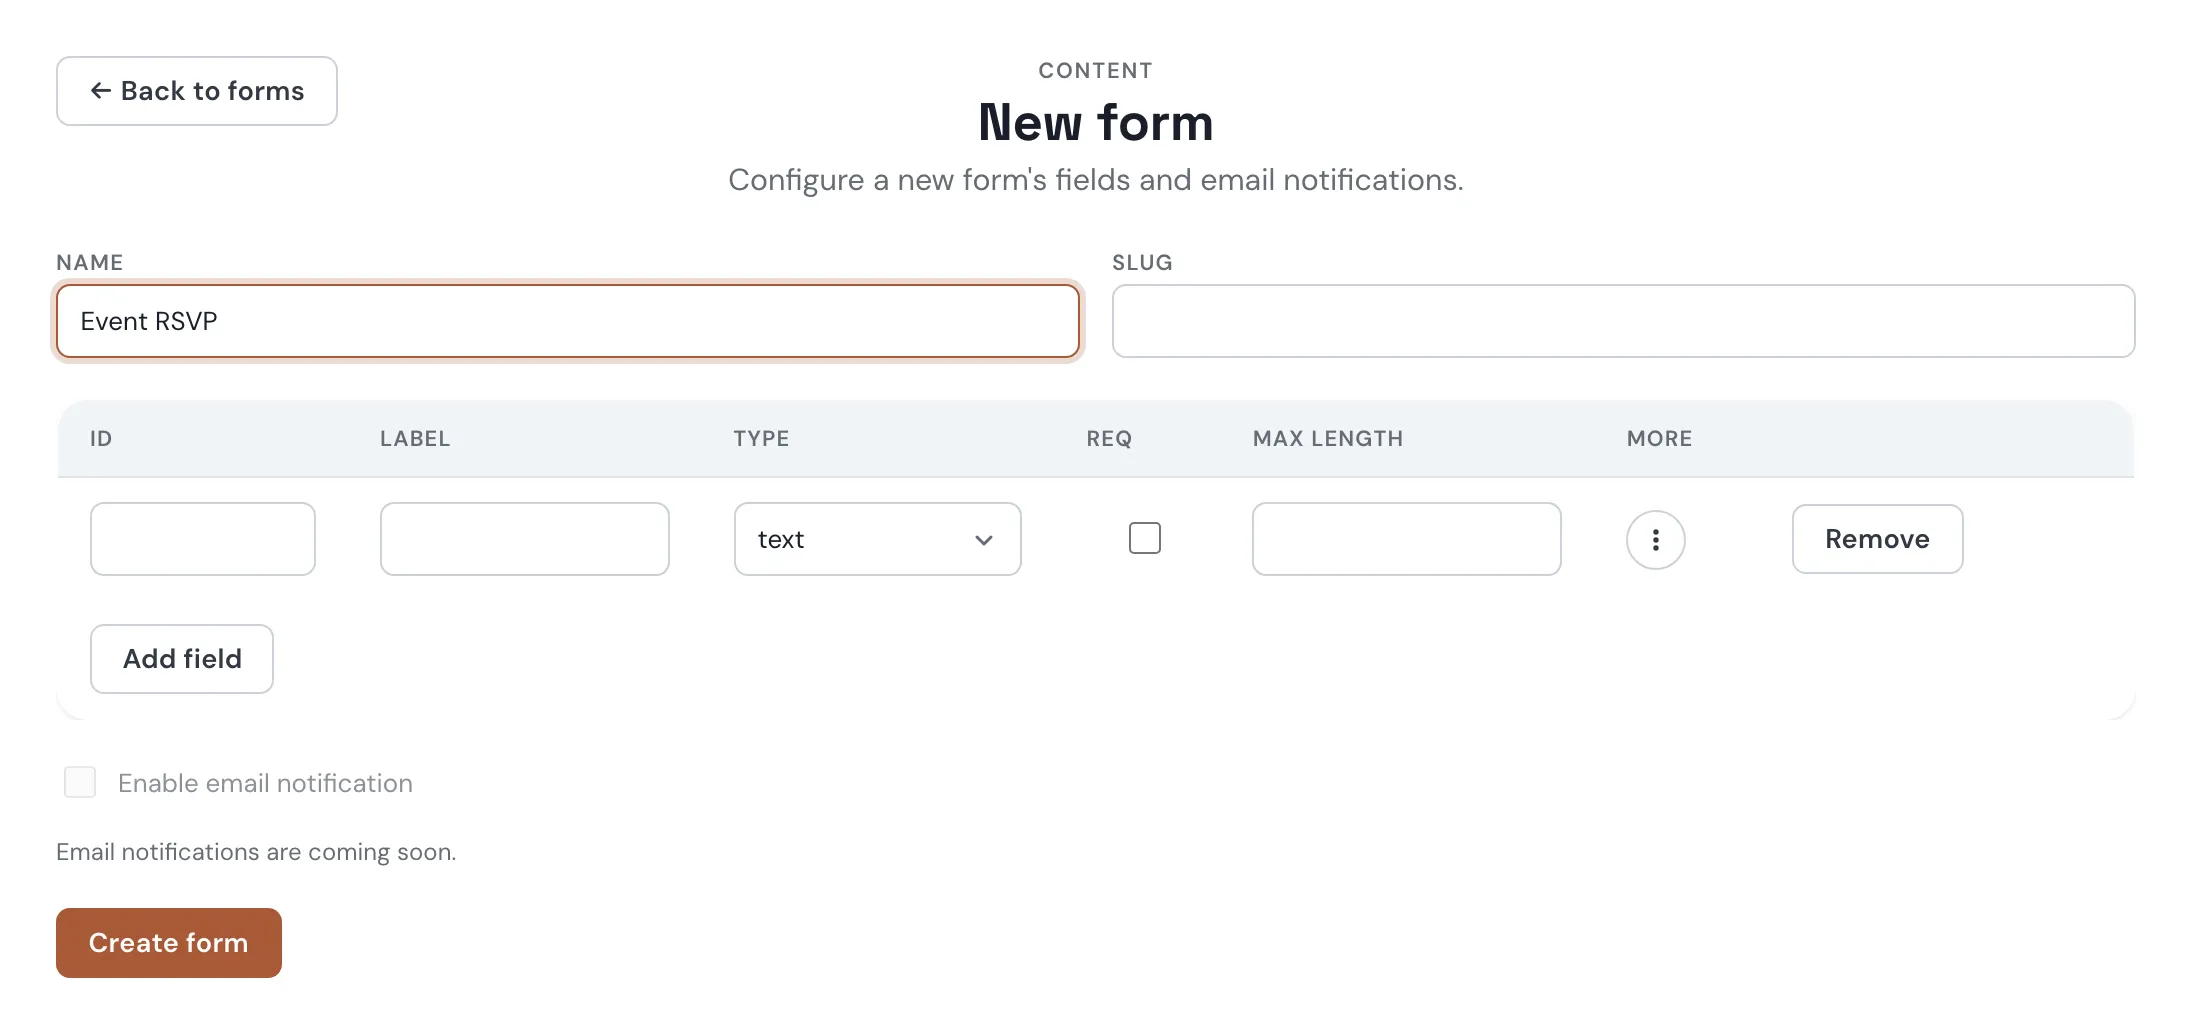
- Under Content → Forms, click New form, give it a name, and set its slug.
- Add fields and pick each one's type: text, email, multi-line text, or checkbox.
- Save. Email notifications are coming soon.
Try it
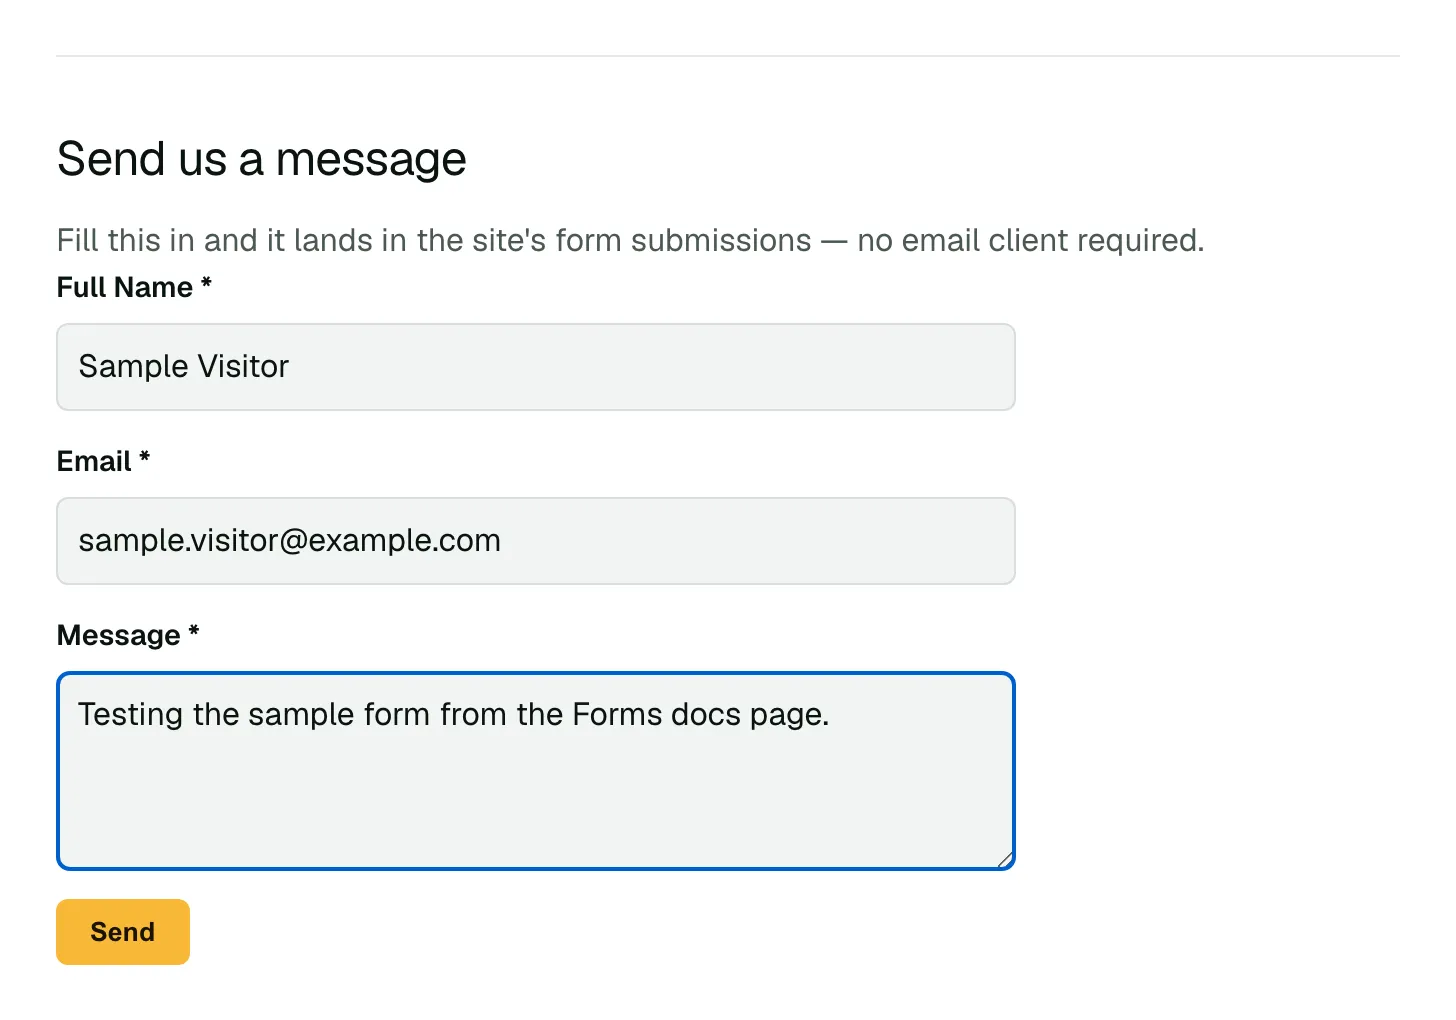
This is a live "Contact Us" form — the same one on the Contact page.
This form is placed on the page with one line of HTML — a marker naming the form's widget by its slug:
<div data-embed-config='{"type":"widget","slug":"contact-form"}'></div>Here it is, live:
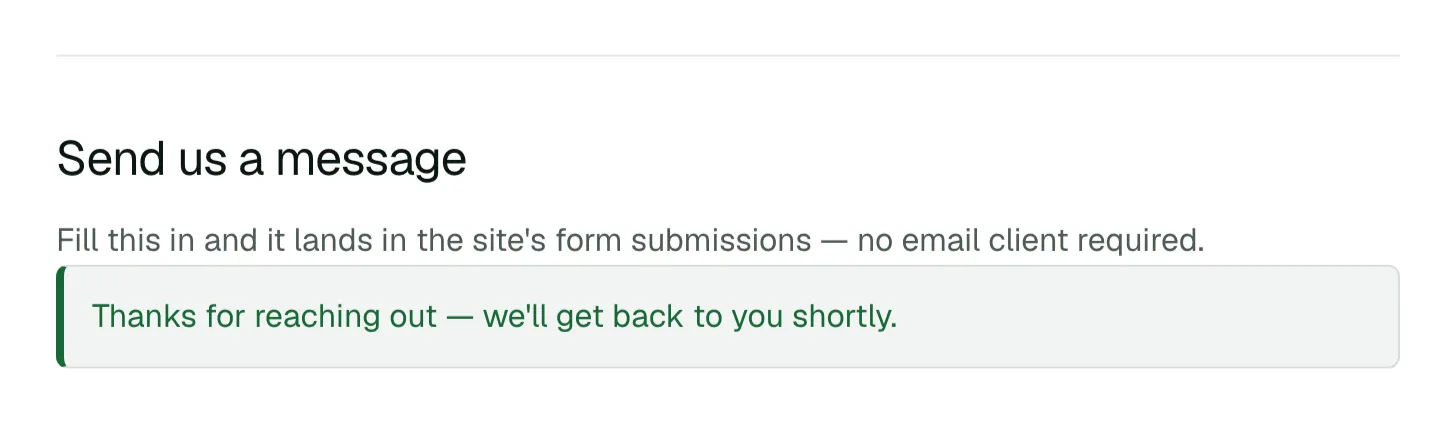
What happens when someone submits
The page redirects back to itself and shows a success message in place of the form.
Reviewing submissions
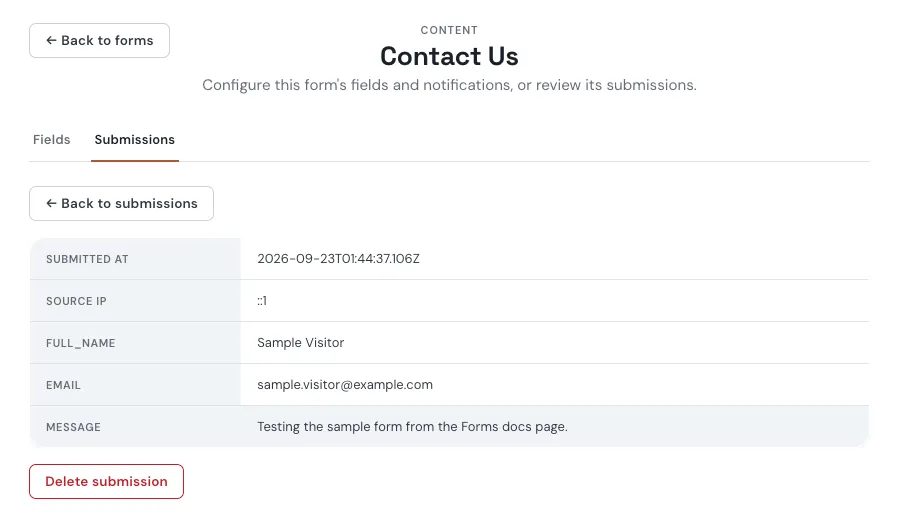
Every submission lands in the admin. Open Content → Forms, pick the form, and open its Submissions tab to read one. Email notifications are coming; for now, submissions are only in the admin.